
By Adriana Linares
There are many reasons you may want to take screenshots in Windows 10. Perhaps you want to show a coworker how to use a specific program, or maybe you want to show the IT gal an error on your computer. Whatever your reason, creating screenshots and marking them up is very straightforward on Windows 10 using the new Snip & Sketch.
Snip & Sketch replaces the Snipping Tool that was in place in earlier versions of Windows 10. Although both programs are currently available on many Windows 10 versions, opening the Snipping Tool will prompt you to make a move to Snip & Sketch – and you should!
How To
You can begin a capture in a couple of ways:
- Press Windows Key + Shift + S; or
- Open the Snip & Sketch app by searching for it in the Start Menu or by typing in the search bar on your toolbar (usually in the lower left of your screen)
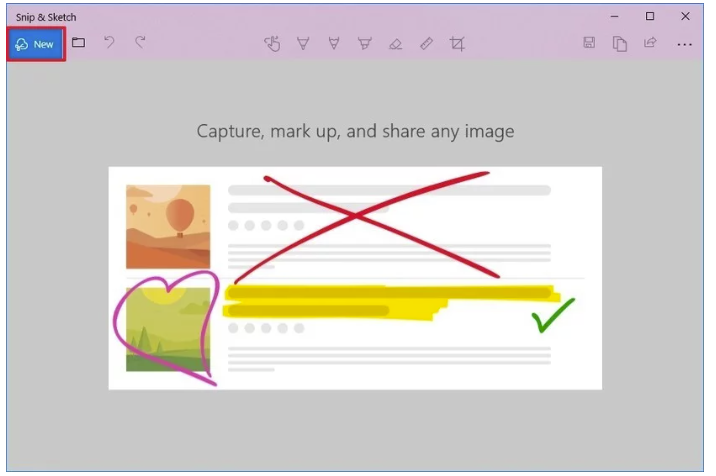
If you use the shortcut method, your screen will immediately dim so that you can capture right away. If you open the app, you will need to press the “New” button in the upper left-hand corner of the dialog box. The app also immediately displays the shortcut that you can use to start a capture.
Choosing Your Capture Type
You have several options regarding the type of snip you can use, including:
- Rectangle. Drag the cursor so that it forms a rectangle.
- Freeform. Create a free-form shape.
- Window. Capture whatever you are viewing on just one particular window by selecting that window.
- Fullscreen. Capture your entire screen in the snip.
Once you have chosen your type of snip and selected the portion of the screen that you want to capture, the image is automatically copied to your clipboard so that you can paste it in another app. It also appears in the app so that you can edit and make annotations. You can save the snip as a picture as well.
When you are in the app, you have the option to delay your snip for one or ten seconds, which can be helpful if you are gearing up to capture a scene from a video or game.
Annotating Snips with Snip & Sketch
You can annotate your snips and other files with Snip & Sketch.
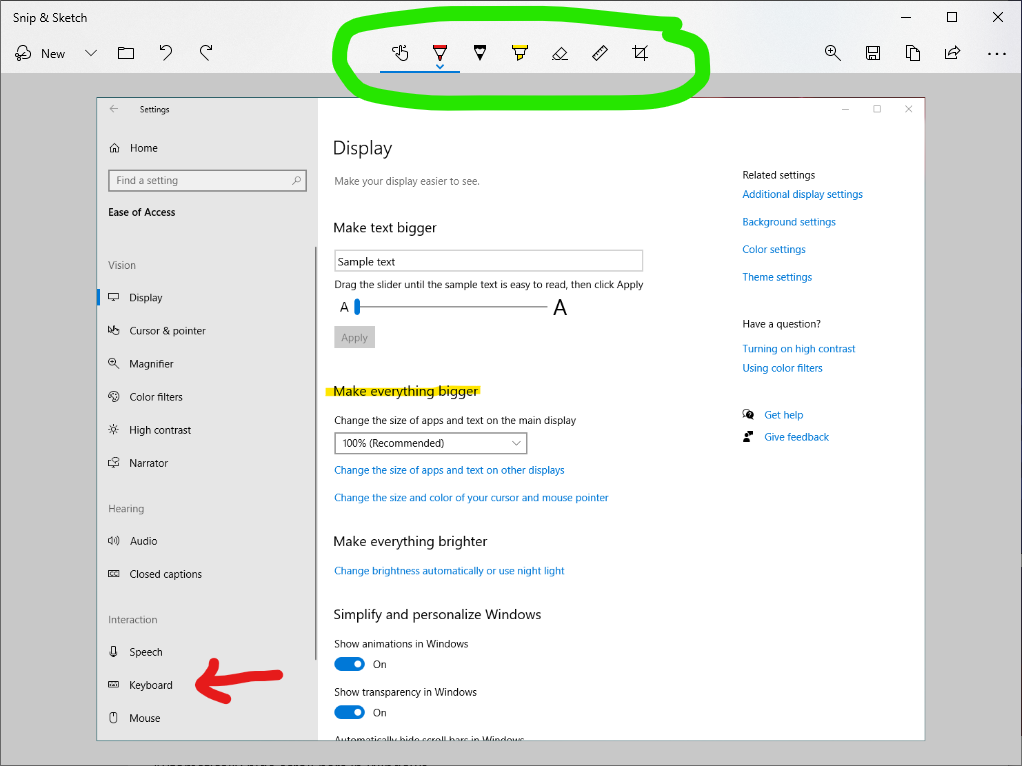
Once you have a snip in the program, editing options will appear at the top of the screen. These include:
- A colored pen
- Pencil
- Highlighter
- Eraser
You can also incorporate straight lines and curves using the ruler functions. Cropping to trim off the edges or unwanted content is also available.
While these functions seem to work best when you have a touchscreen device, you can use them with a keyboard and mouse, as well.
The functions on the upper right will allow you to save, copy, and share your snip and annotations.
If you need any assistance with this skill, be sure to reach out to me, Adriana Linares, the SDCBA’s Technology & Practice Management Advisor. I am here to help! You can email me or make an appointment to meet with me online.